

In yet another short tutorial I will show how I am going about sculpting arms for all my Nurgle followers - on the example of a Bloater I converted for Blood Bowl.
I had a specific pose in mind for this guy and no bits were good for it, so I decided to make them on my own. Thankfully, the nature of those rotting meat sacks gives some leeway when it comes to anatomy, so doing things like this is both easy and a good opportunity to practice some sculpting.
I started with some paperclips that I bent in the desired shape with fists glued at the ends - hands are a completely different story when it comes to sculpting, so I prefer to use existing bits when possible.
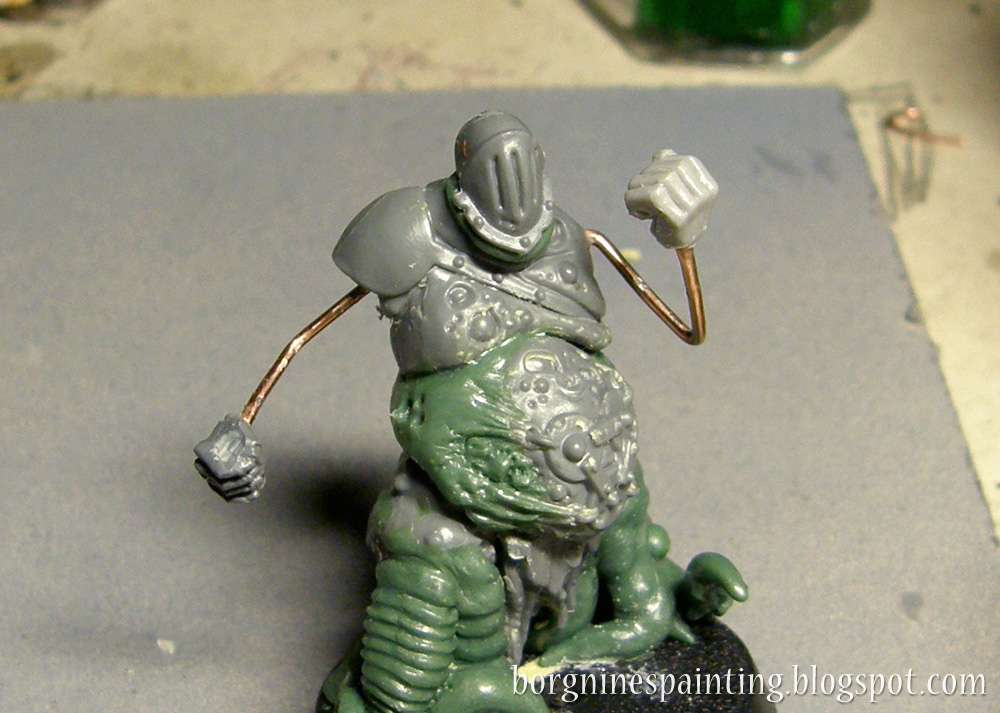
The next step is to cover the paper clip with blobs of greenstuff - just adding more and more until I was satisfied with the amount. It's okay to use fingers at this point.
Now is the time to apply the rough structure to the arm. Here I was using a small, round clay shaper to define the musculature like the deltoid, the biceps and the forearm. I wanted the flesh to sag a little here, to show that it's not all nice and healthy, so I also roughly sculpted that on the underside.
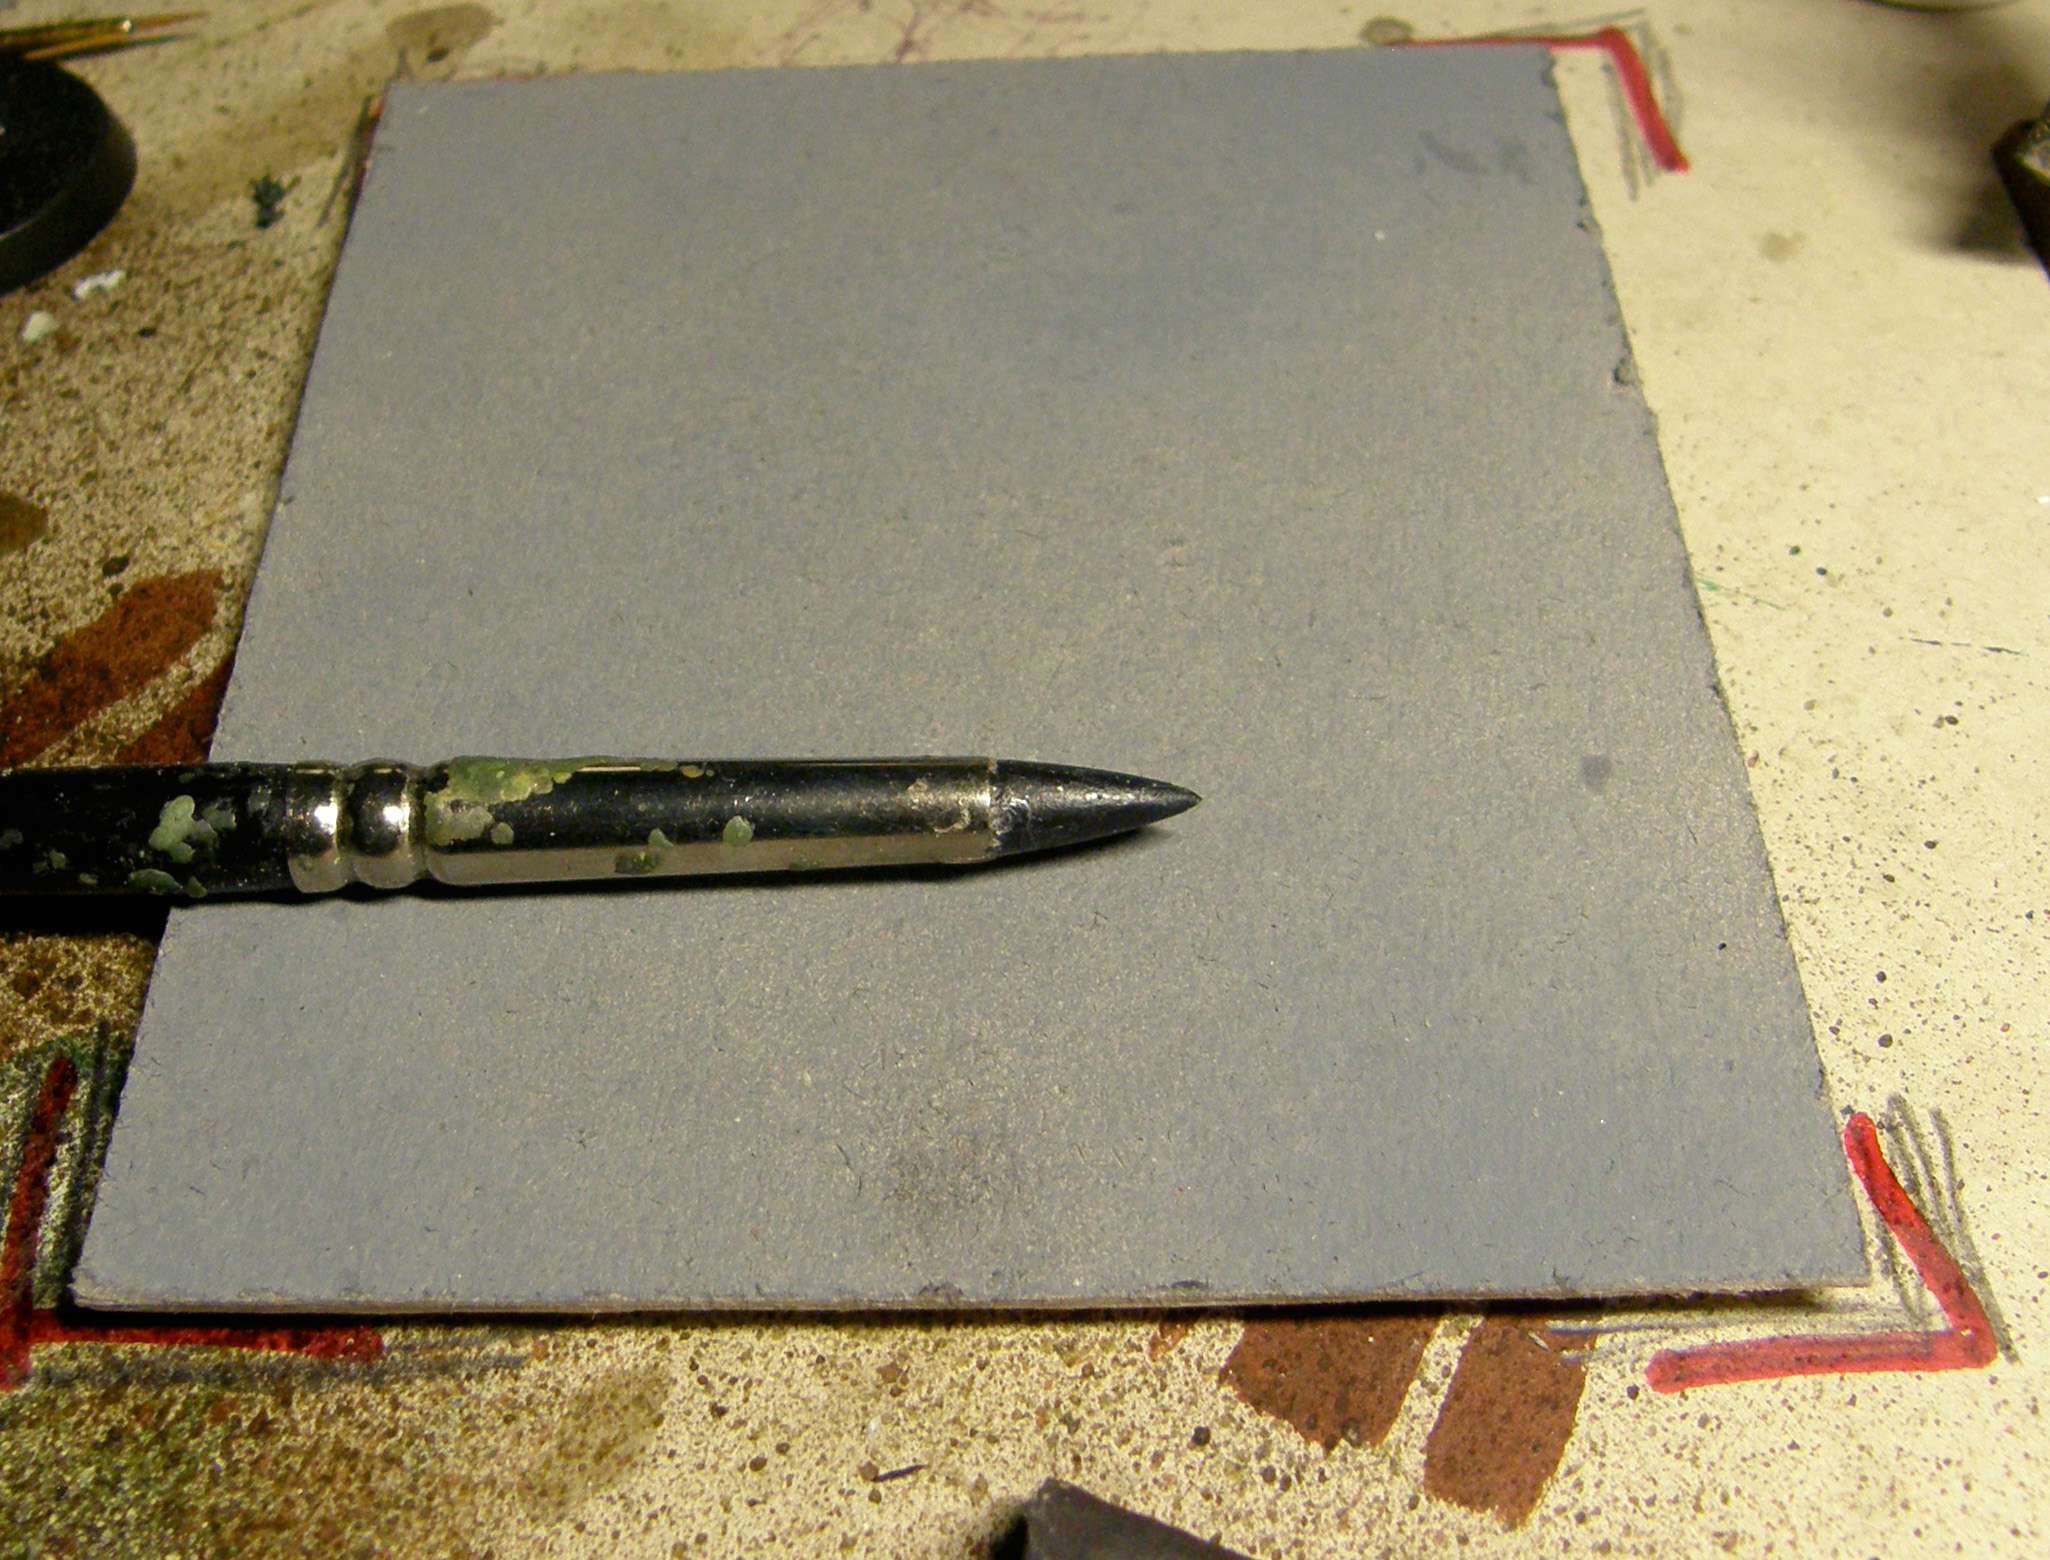
When I was satisfied with the general form, it was time to smooth it out. For that I used a big, round clay shaper and round, flat clay shaper, moving them carefully over the ridges and blobs, smoothening them out gradually. It's important to make it wet here, both the tool and the greenstuff - water, oil or saliva works just fine. Some places may need a sharper detail at this point, like the crease on the 'elbow pit' - I used the side of the pointy sculpting tool for that here.
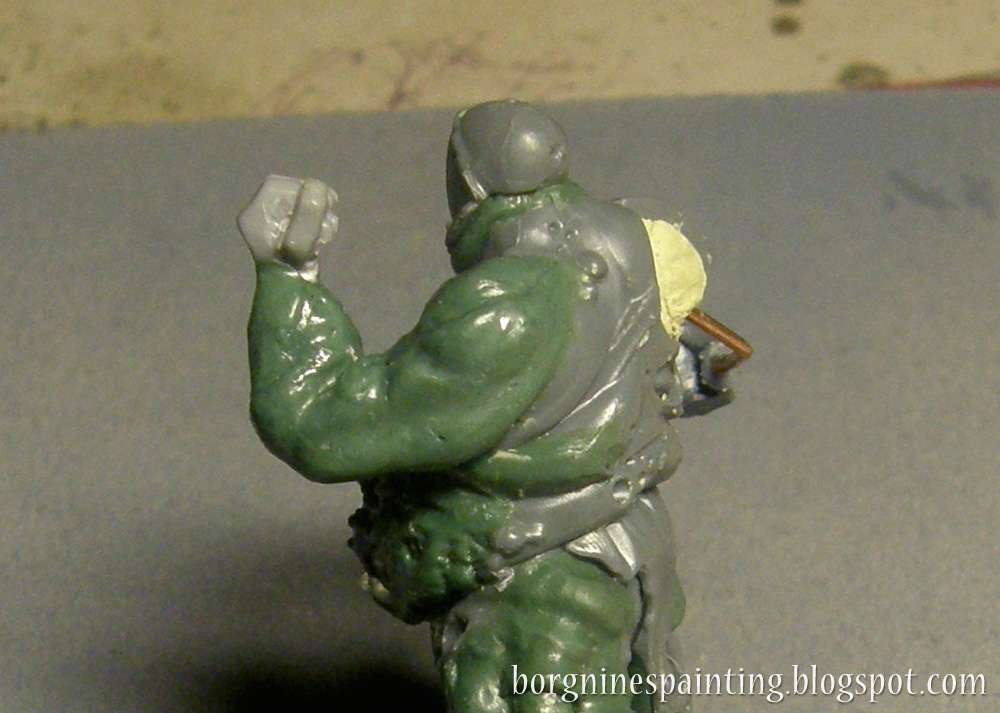
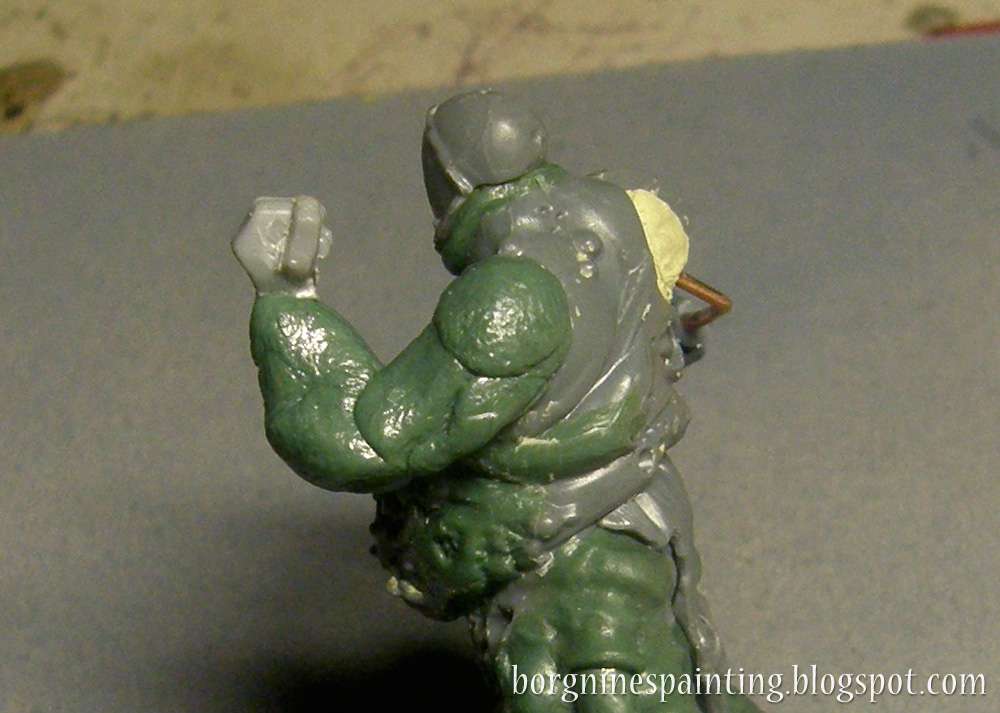
When that is done, it's time for textures and other special effects. First, I used the pointy sculpting tool to make the open wound - by making small holes tightly around a circle and then adding similar dots inside the circle until it looks messed up enough. Then I used the scalpel (or an Exacto knife) to add ridges on the forearm, to simulate straps that go together with an armor plate that he will have there. I also made several small holes with the pointy tool, randomly in small groups - it enhances the rotting effect I was going for here.
At this point, the whole thing is ready to cure. If I want to add some boils on the skin here, then I like to use Liquid Green Stuff for that (mixed with varnish for added sturdiness) applying them on the cured greenstuff in the same spot in several layers. An alternative would be using small blobs of normal greenstuff - being extra careful about smoothening out its connection to the rest of the flesh.
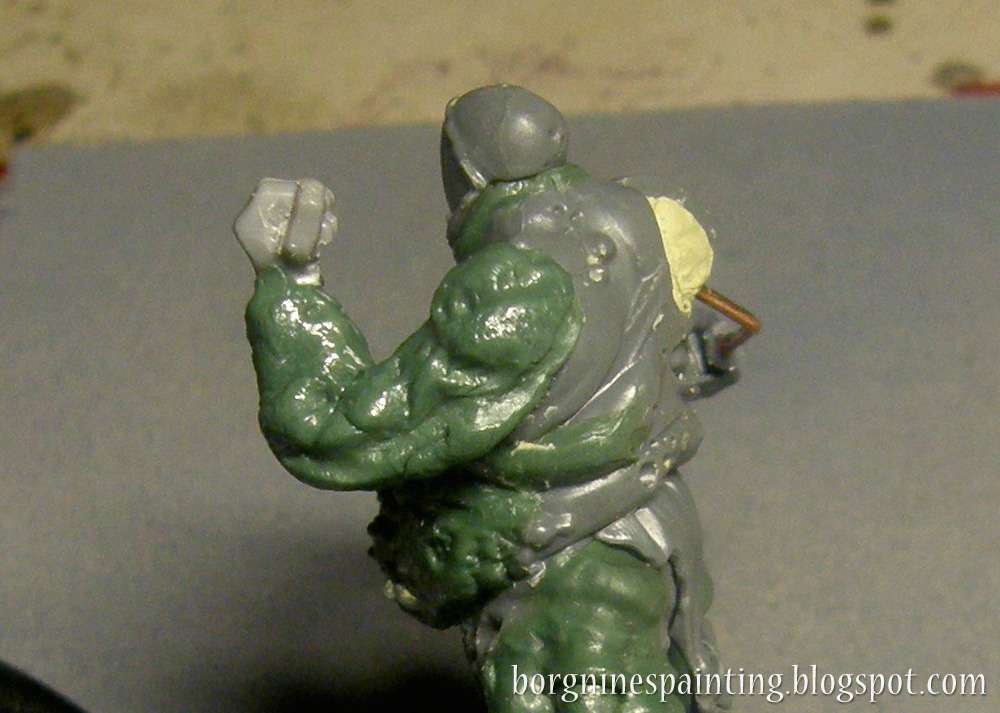
Here I have the other arm, already finished - it was created in a similar way, only during the first step I used several greenstuff balls to create the structure, rather than trying to emulate any kind of musculature. Then I smoothened the connections between them with the clay shapers and added some holes and texture.

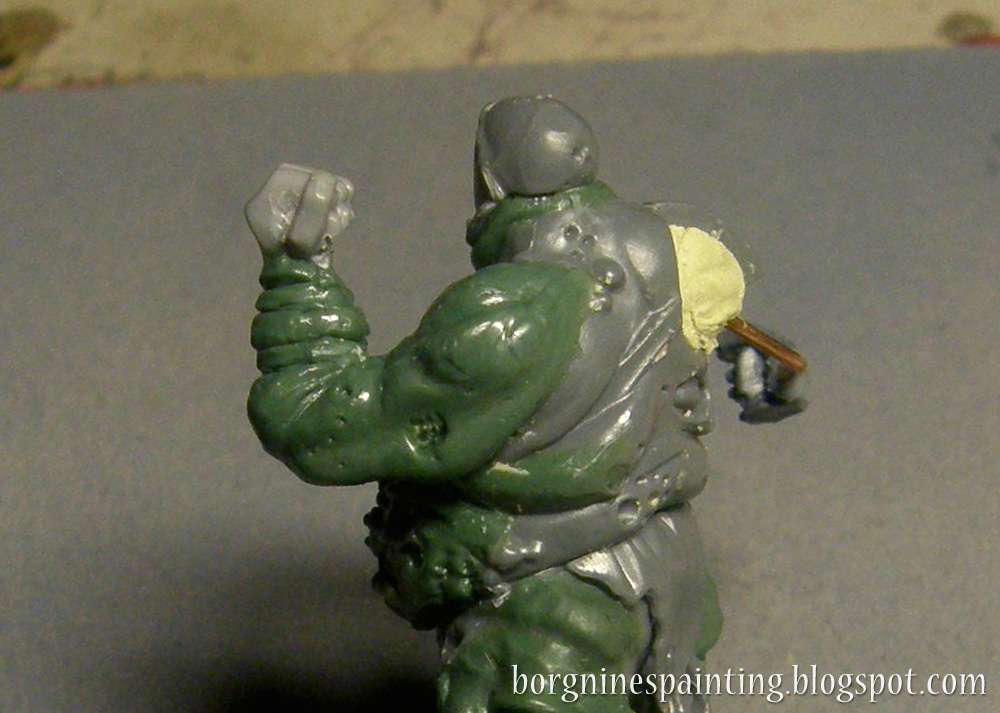
And here is the right arm seen from the front in all of its bubbly, disgusting glory. Here you can also see another kind of trick that I often use on my Nurgle miniatures - a ball pressed into the soft greenstuff. Every time I sculpt something and I'm left with extra greenstuff, I roll it into balls of several sizes precisely for this reason. By pressing such a ball into the soft putty, you can create a boil with a clear border between it and the rest of the body. It can be an eye, a boil, or a botfly egg - and the greenstuff that is raised during the pressing can represent swollen, inflamed tissue around the thing.

No comments:
Post a Comment