

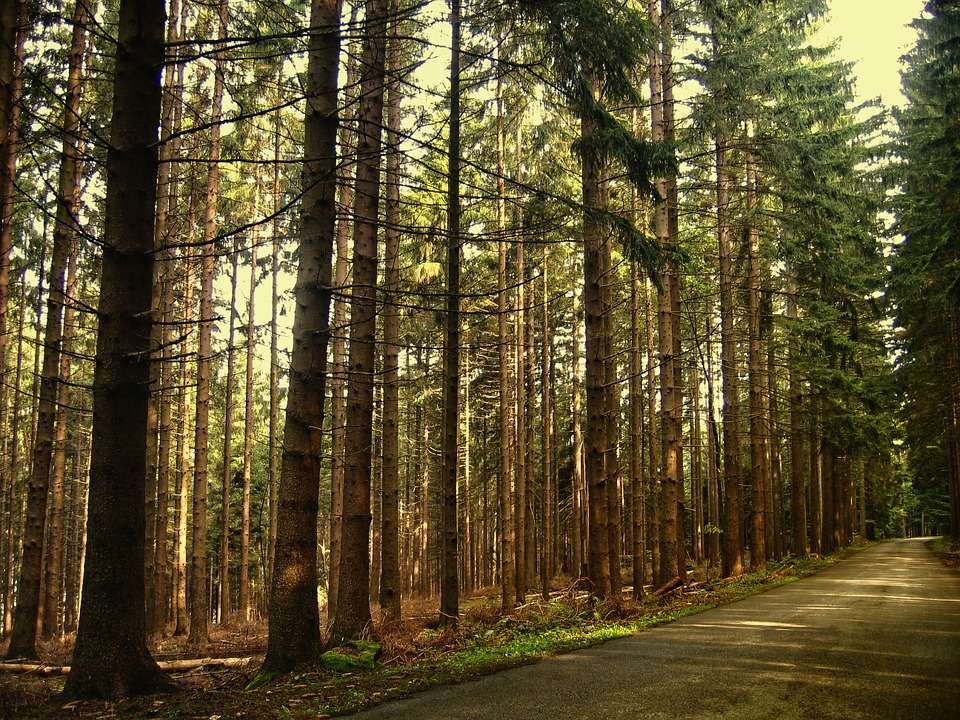
At some point, I decided that I want my undead army to be forest themed. And to be more precise - a coniferous forest themed, to resemble 'bór' forests that can be found, for example, in Poland. Below you can see a photo that shows the look I was going for (picture from pixabay). Mine is only a little more grim.
I started with the appropriate basing flock, but when I was doing Nagash and his giant base, that wasn't enough. So I decided to sculpt my own trees, looking at photos and trying to make something that would resemble the real ones close enough. I started with few short ones, but later, when doing the Zombie Legion the trees got higher, thicker and branched too. I made so many of them that once I decided to actually make some photos and make a tutorial out of it. Maybe someone will make an use of it.
NOTE: My trees do not have any needles or bushy branches, those are always very high up the tree - mine are all conveniently broken at a certain height to avoid that. Thanks to that, I can make them as high as I want and they look certainly good enough for me. It's much easier too!
What's needed, including all the optional parts:
For the sculpting:
For the painting:
I start with a mostly straight stick glued to a base or something else you can hold. Pinning it wouldn't hurt too, I had some of those trees break off when I was sculpting the bark.
NOTE: My trees do not have any needles or bushy branches, those are always very high up the tree - mine are all conveniently broken at a certain height to avoid that. Thanks to that, I can make them as high as I want and they look certainly good enough for me. It's much easier too!
What's needed, including all the optional parts:
For the sculpting:
- a straight stick
- Greenstuff
- Milliput
- a sculpting tool / a knife
- some cork pieces
- thin twigs or leftover sprues
- round clay shaper / rubber brush
- Liquid Greenstuff
- sand
- some kind of varnish
For the painting:
- Steel Legion Drab
- Athonian Camoshade
- Nuln Oil
- Agrax Earthshade
- Ushabti Bone
- light turquoise paint, like for example: Templeguard Blue mixed with white
- Coelia Greenshade
I start with a mostly straight stick glued to a base or something else you can hold. Pinning it wouldn't hurt too, I had some of those trees break off when I was sculpting the bark.

Then I prepare the mix for the bark. I use Milliput mixed with Greenstuff in a ratio of about 3:1. I find this mix really good for this purpose - not too rubbery, not too crumbly - and not too expensive too! Guessing the right amount of it to cover the whole tree can be tricky, so I try to flatten the mix and compare it with the stick.

Then I cover the stick and try to spread the mix around to make it relatively even all around. The thicker this layer is, the more definition you can sculpt on the tree.

Now it's time to use sculpt some vertical ridges on the bark. I use a sculpting tool you can see below, the producer called it 'a scythe'. A knife can be used too, I use this tool to give those ridges a bit of width. That makes them easier to work with in the later stages.

Below you can see the ridges. They should be kept pretty random all around the bark.

And now it's time for the bark texture. For that, I am using various pieces torn off a cork mat:

I wet the pieces with some water to prevent it from sticking too much and I press them against the bark, trying to line one of the cork edges with the existing ridges.

This gives it a random, bark-like rough texture. I try to turn the cork piece or switch them often to keep the pattern from repeating too much.

Here you can see the bark texture mostly sculpted:

And a closeup:

Now it's time to deepen and emphasize the ridges, to simulate many pieces of broken bark sticking to the wood of the tree. Earlier stage, even if performed very carefully, tends to cover up some of the earlier ridges so it's good to bring them back. Not to mention separating them a bit. For this, I have been using either a scalpel or the 'scythe' tool pictured earlier.

I try to sculpt elongated cigar shapes interlocking with themselves. On the left is the idealized version, the principle that should lead the sculpting process - and on the right how it should mostly look in the end. This time it's important to distinguish many separate parts of this cracked bark, in opposition to the continuous, vertical surfaces seen before texturing.

If you want to use real twigs to act as branches, this is the time to add them - while the sculpting mix is still soft. I put a small drop of superglue on the end of such a twig and stick it into the bark, trying to get them at different heights all around the tree, pointing slightly downwards.

If real wooden twigs are used, I suggest coating them in some superglue or a greenstuff + glossy varnish mix. This makes them a tiny bit more durable. Still, even with that, I had numerous of such twigs break off...

And because wooden twigs break off easily, I tried to do some of them out of plastic. The easiest way would be to take branches that come in a Dryad box, for example. Those didn't fit my needs, though - I wanted long main branches with smaller pieces sticking out of it - that's why I made some of my own!
I start with a slightly curved piece of leftover sprue. I found ones that are 2-3 cm (or about 1 inch) long tend to work the best. Still, longer ones can be shortened easily and are easier to carve, so it's always better to cut them longer.
I start with a slightly curved piece of leftover sprue. I found ones that are 2-3 cm (or about 1 inch) long tend to work the best. Still, longer ones can be shortened easily and are easier to carve, so it's always better to cut them longer.

Using a scalpel or another sharp knife, I begin to shave the sprue away, switching from side to side and thinning them down, tapering to a point at the end.

Instead of sticking them into the bark while it's still soft, for these branches I drilled holes in the tree after the mix has already cured and glued them inside with some superglue. Any gaps that remained were covered up with greenstuff. Like earlier, they should be set at different heights all around the tree.

And now it's time to go fractal and add little branches around the big branches in the same way that the big ones go around the whole tree. For those, I actually used the branches that are found in a Dryad box - but instead of using them whole, I cut off the thinnest and tiniest ones and gathered a pile of them:

I glued those little twigs around the big branches using plastic cement glue. For each one I put a drop on the big branch and a drop on the small one - and glued them together only after about a minute later. That gives the glue some time to work with the plastic, melts it a little and makes the new connection much stronger and smoother - and there's no worrying about the loss of detail here.

If you want - that's optional - this is a good time to add some roots going around the tree. For ones that look like here below, I made some rolls out of the same Milliput / Greenstuff mix that the bark is made of and stuck them on the ground. After that, I smoothened out how are they connected with the ground and sculpted them a bit with a round, pointy clay shaper/rubber brush.

And another optional part - moss on the trees. I make it by mixing sand with gloss varnish and liquid greenstuff. It would be easier to just add some flock after everything's done, but I couldn't find one in the right color, so I made my own.
As for the ratio of this mixture, I suggest adding 1:1 sand and greenstuff and keep adding varnish until the mix achieves the right consistency. It cannot be watery, but it cannot be dry too - it needs to be wet enough to stick to the tree and thick enough to retain some shape. Not enough varnish and it will fall off - too wet and it won't be even noticeable after drying. Thankfully it's easy to adjust.
I put it in random spots and amounts all over the tree.

Now it's time for the painting! It's not short, I'm not a very optimized person when it comes to painting - but it's all straightforward.
After the usual priming (I primed them white here, but any grey, black, brown or green should work too) the basecoat is done by applying two thin coats of Steel Legion Drab.
After the usual priming (I primed them white here, but any grey, black, brown or green should work too) the basecoat is done by applying two thin coats of Steel Legion Drab.

Now coat all the bark with Athonian Camoshade.

When this is completely dry, apply a drybrush of Ushabti Bone all over the tree, watching out not to break any branches.

And now, another throughout coat of wash, this time Nuln Oil.

When that's dry - once again, an Ushabti Bone drybrush.

And a coat of Athonian Camoshade again.

A subtle, refining touch - few careful, thin spots of Agrax Earthshade applied randomly all over the bark. It's probably not even visible on the photos, but it livens up the tree a bit and makes it more natural.

If you went for the 'sand moss' earlier, this is the time to paint it. I didn't use flock to make it because I wanted to make it look like I remember it from polish forests - where it looked like THIS, with a light grey / turquoise(ish) color (and it's technically a lichen, not moss). I start doing it by mixing a very light turquoise paint out of white, green and blue, to achieve the paint you can see below. I tried to find a ready, potted equivalent, but I couldn't... I think the closest one I could come up with was mixing Temple Guard Blue with white paint. If someone knows a paint that looks like this, tell me about it, please.

I forgot to take photos of the whole process, so I will just describe it here, it's simple.
Using the paint shown above, I paint all the spots of moss/lichen - they should be easily found, they stand out on that bark, especially after all those drybrushes and washes. When that's done, I coat them with Coelia Greenshade. It's a pretty thick wash, so later, when it's dried, I use the same light turquoise paint to add some highlights on the moss/lichen patches.
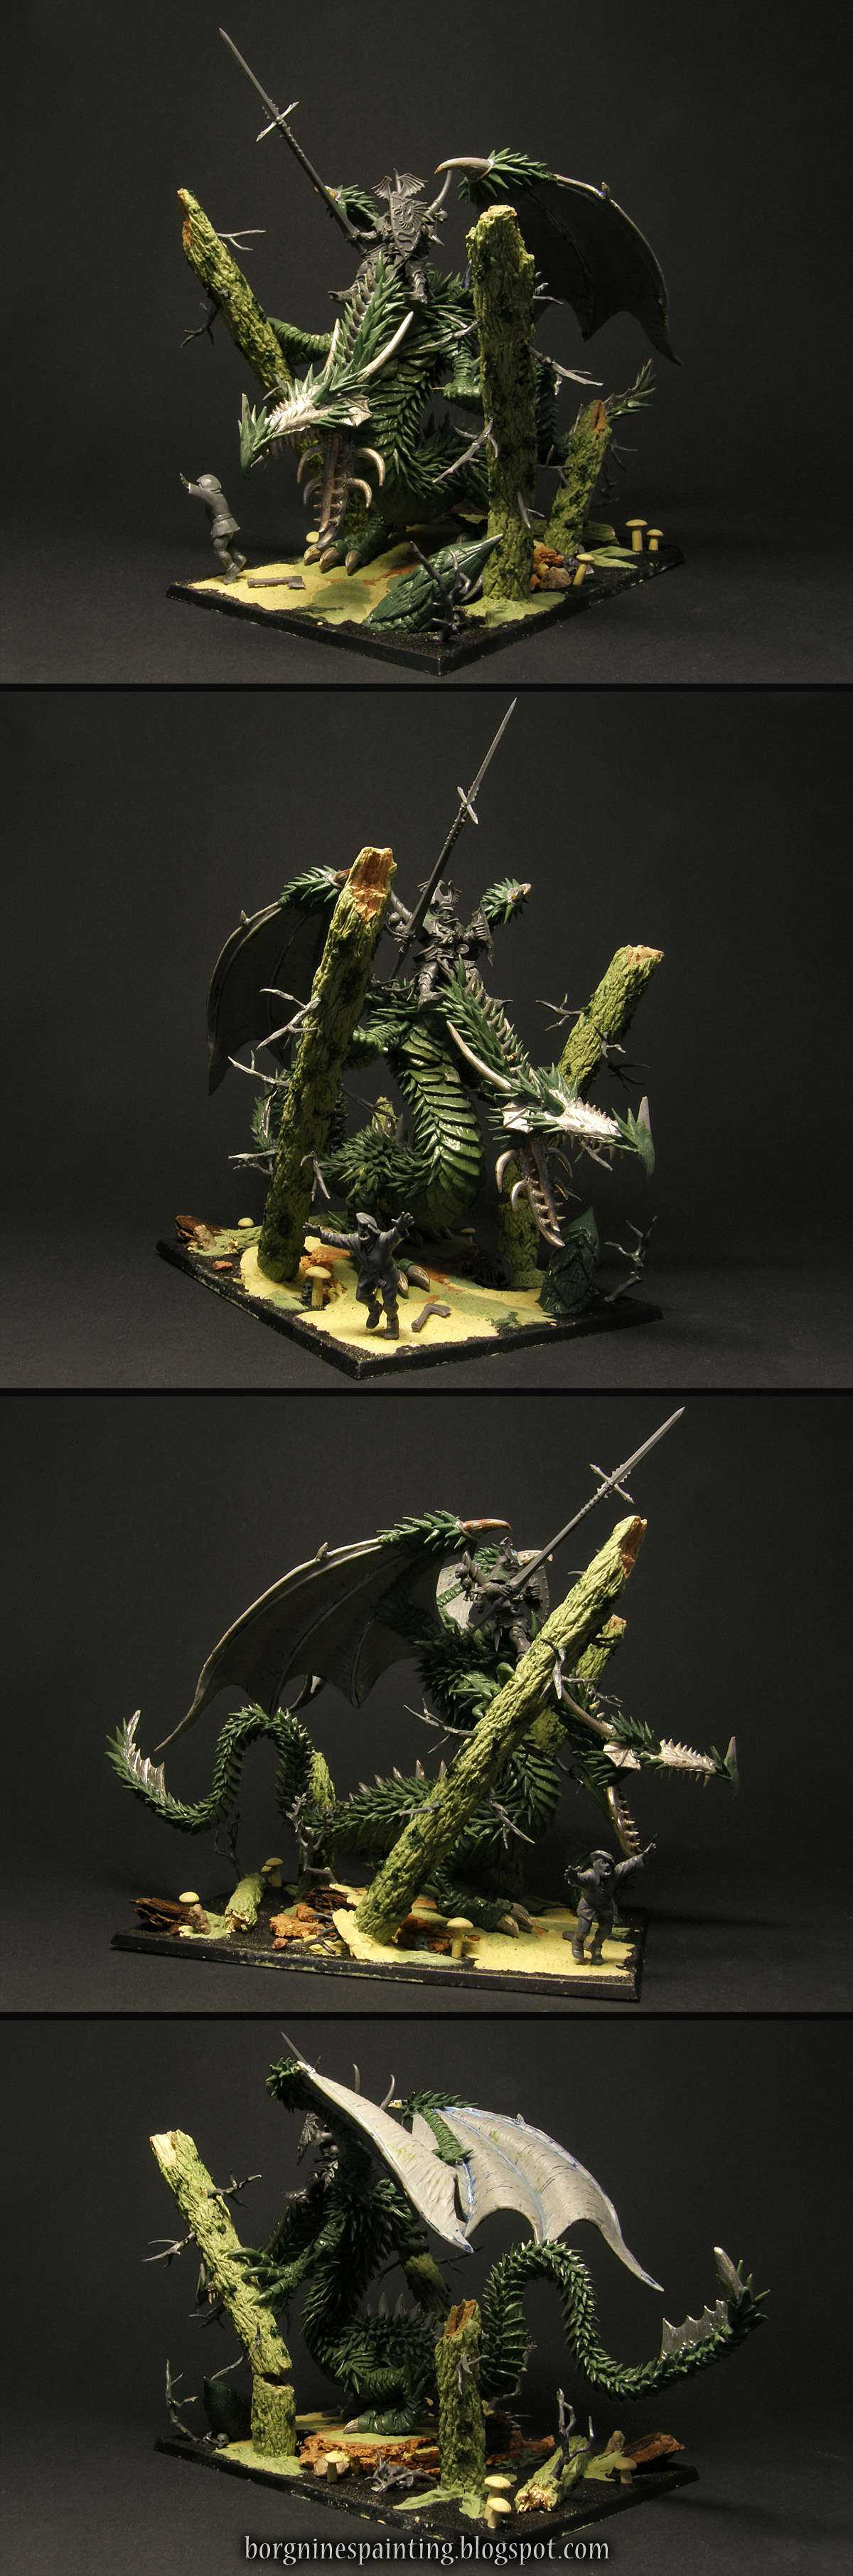
And that's it! The tree is ready and it should look similar to the one you can see below (painting-wise of course, the height of the tree may differ of course!):
Using the paint shown above, I paint all the spots of moss/lichen - they should be easily found, they stand out on that bark, especially after all those drybrushes and washes. When that's done, I coat them with Coelia Greenshade. It's a pretty thick wash, so later, when it's dried, I use the same light turquoise paint to add some highlights on the moss/lichen patches.
And that's it! The tree is ready and it should look similar to the one you can see below (painting-wise of course, the height of the tree may differ of course!):

I hope somebody will find at least parts of this tutorial useful. I will probably do another one about sculpting and painting Slavic wooden idols you can see on my bases often.


